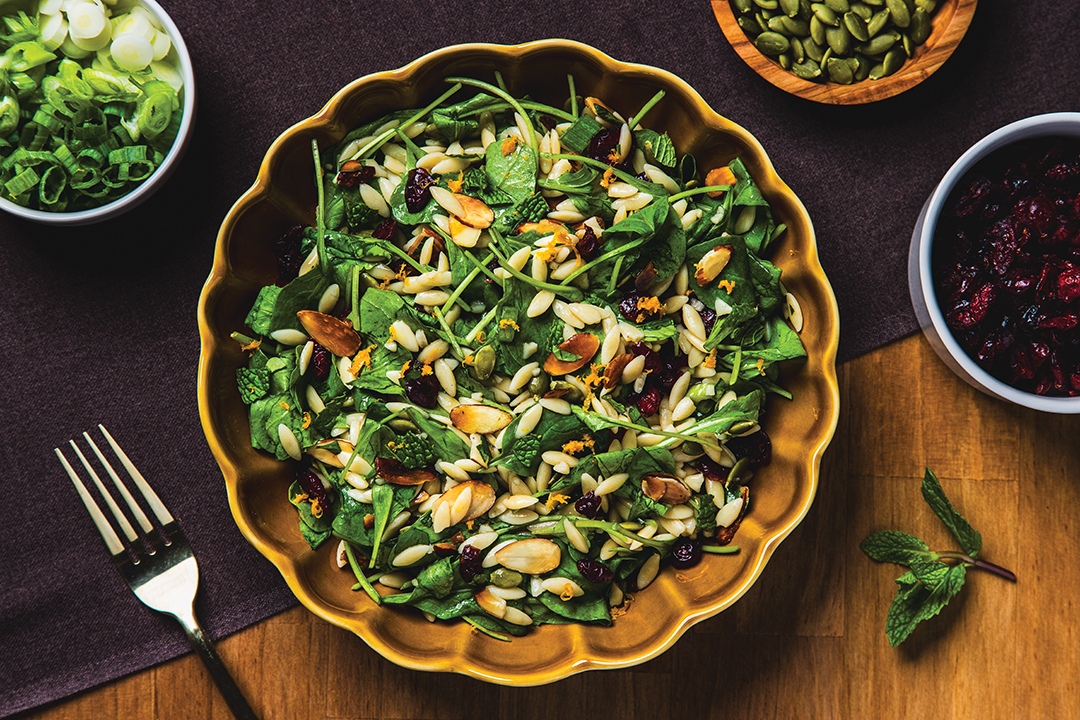
Holiday Orzo Salad. Photos: Chris Emeott
Some recipes know how to behave while traveling for Thanksgiving.
Whether you’re driving a couple of hours, heading across the Metro or just stepping down the street, traveling with a dish to share for a Thanksgiving gathering can cause some travel troubles. Spillage and temperature fails are just the start.
If it’s for Thanksgiving at your family’s, Friendsgiving or an our-family-lives-too-far-away holiday meal with the neighbors, we’ve gathered some special dishes that easily pass the test when it comes to their ability to go from your kitchen to someone else’s house. Afterall, any mealtime potluck begins with, “What should we bring?”
Join us as we have our own Friendsgiving with one of our sister publications, Edina Magazine, as editor Feroza Mehta also offers some recipe inspiration.
Appetizers
Artichoke Wonton Wraps
Notes: Continuing with my obsession with artichokes, this recipe wins when it comes to ease of transport, and they are easy for diners to grab, eat and continue circulating. —RSH
- 14 oz. artichoke hearts, drained and chopped
- 1 cup Parmesan cheese, grated
- 4 oz. mozzarella cheese, shredded
- 1 cup mayonnaise
- 2–3 dashes garlic salt
- 3 Tbsp. green onions, sliced
- wonton wrappers
Dipping Sauce
- ½ cup orange marmalade
- ¼ cup honey (I use hot honey.)
- ¼ cup or less Dijon mustard
- red pepper flakes, optional if you use regular honey
Preheat the oven to 350 F. Mix ingredients through green onions. Coat a mini muffin pan with nonstick cooking spray. Press one of the wonton wrappers in each opening. Fill the wrappers with the mixture, about a tablespoon. Pinch the wrappers closed at the top, using water-dampened fingers to seal edges. Bake for 5-6 minutes or until golden brown. (Reheat at your destination, provided the host has oven space for 5-10 minutes.) For the dipping sauce, mix the ingredients. That’s it!
Cranberry Meatballs
Notes: It isn’t a true potluck without a crockpot full of some sort of meatball concoction. This is an easy recipe to make during the busy holiday season because it’s ideal for when you are in a time crunch. When I have a little extra time, I make the gluten-free version. —FM
- 14 oz. whole berry cranberry sauce (The regular jellied or juiced versions tend to make the sauce too thin and runny; the whole cranberries provide the ideal thickness and texture.)
- 2 ¼ cups barbecue sauce
- 28 oz. frozen meatballs
In a slow cooker, stir the barbecue and cranberry sauces until well combined. Add meatballs. Stir to coat all the meatballs. Cook on low for 2 to 3 hours depending on the size of the meatballs. Stir before serving.
Side Dishes
Holiday Orzo Salad
Notes: For balance, I try to serve a cool or room temperature side dish—along with a warm option—for larger gatherings. This dish presents sweet, salty and savory profiles in one delicious scoop. Bonuses: The pasta gives vegetarian guests a little oomph to their plates, and this is an easy traveler. The recipe is inspired by Diane Morrisey, a newcomer to the cookbook scene. —RSH
- kosher salt
- 1 lb. orzo
- 1 cup almonds, sliced
- 3 oz. baby arugula
- 1 cup pumpkin or sunflower seeds, roasted and unsalted
- 1 cup dried cherries, cranberries or golden raisins
- 3 scallions, thinly sliced
- ½ cup fresh parsley, chopped (Use the remaining parsley for garnish.)
- ¼ cup fresh mint, chopped (I opt out.)
- zest of 1 orange, finely grated
- ½ cup Orange-Balsamic Vinaigrette (Recipe is below.)*
- black pepper, freshly ground
Bring a large pot of salted water to a boil. Add the orzo, and cook until tender or according to the package directions. Drain. Rinse under cold water; drain again. Transfer to a large bowl. Heat a small skillet over medium-high heat. Add the almonds; cook, stirring occasionally or until toasted, about 3 minutes. Transfer to a plate; cool. Add the almonds, arugula, pumpkin or sunflower seeds, dried fruit, scallions, parsley, mint and orange zest to the orzo; mix. Stir in the vinaigrette (below). Season the salad with salt and pepper. The salad can be covered and refrigerated for up to 6 hours. Before serving, reseason with more vinaigrette, salt and pepper to taste. Serve at room temperature.
*Rather than make this vinaigrette, I’ve purchased light Raspberry Walnut Vinaigrette, and it works great, especially when time is an issue. If I use the purchased dressing, I substitute chopped walnuts, lightly toasted in a pan, for the toasted almonds.
Orange-Balsamic Vinaigrette
- ¾ of a cup extra virgin olive oil
- ½ a cup balsamic vinegar
- zest of an orange, finely grated
- ½ cup fresh orange juice
- 2 Tbsp. pure maple syrup
- 1 Tbsp. Dijon mustard
- 1 garlic clove, minced
- ½ tsp. kosher salt
- ½ tsp. black pepper, freshly ground
In a jar with a lid, combine the ingredients; shake until combined. The vinaigrette can be refrigerated for up to a week. Shake well before using.
Space is Grace Butternut Squash
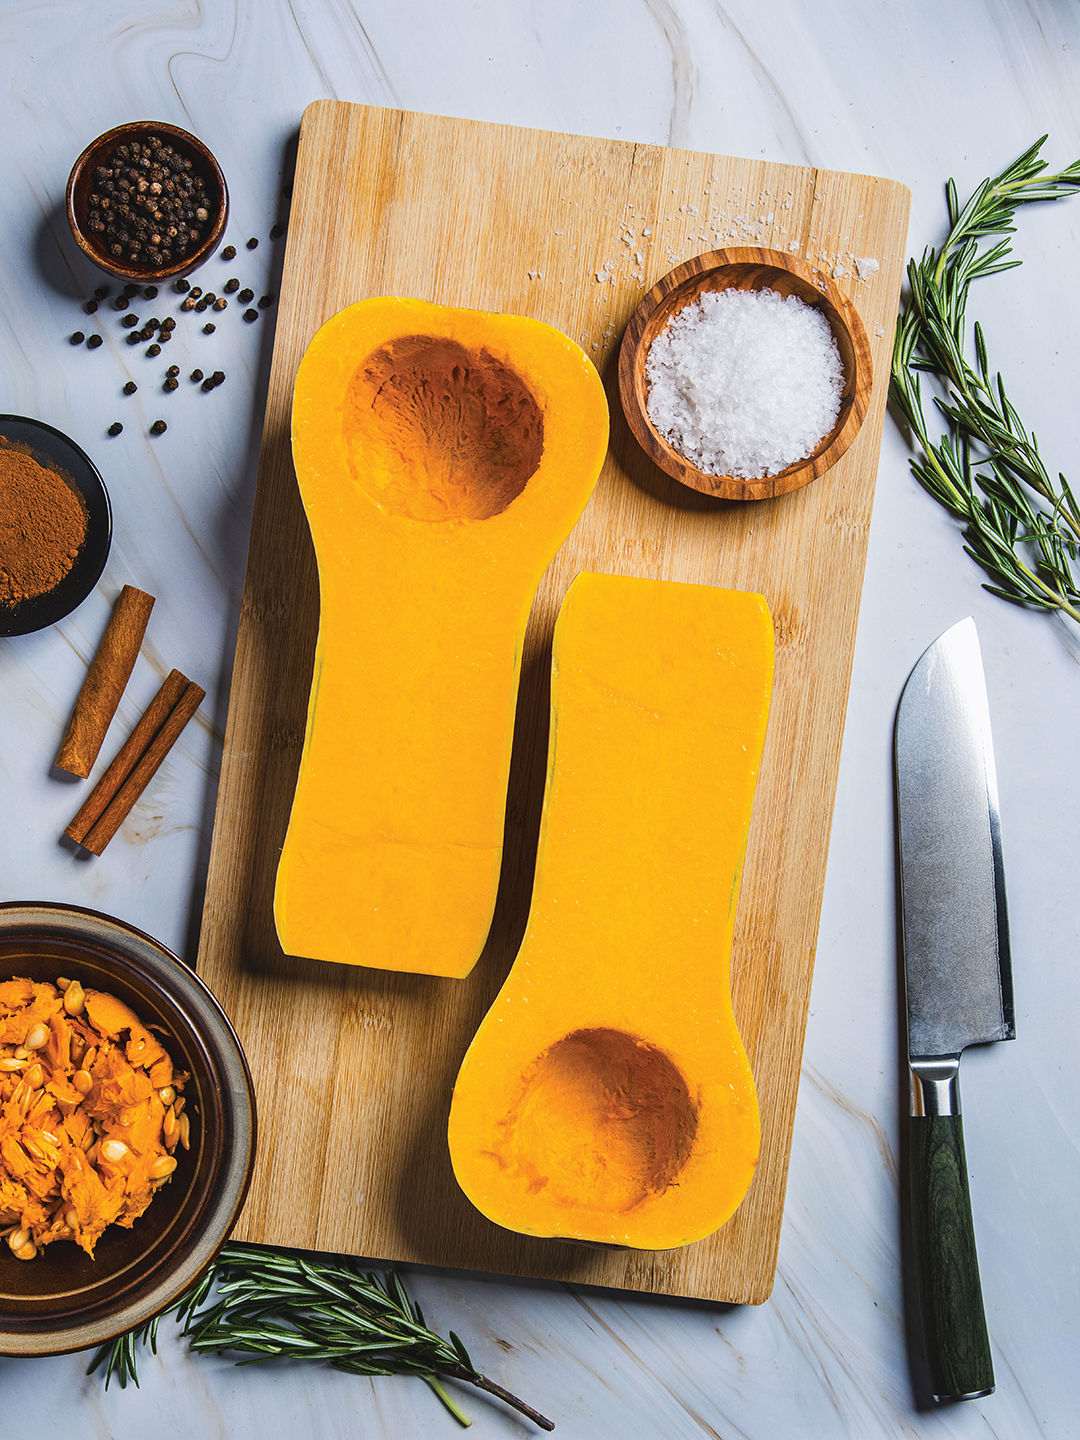
Space Is Grace Butternut Squash embraces maple syrup to sweeten the main ingredient’s flavor profile.
Notes: My brother brought this for Thanksgiving in 2009, and it’s been a family favorite ever since. The maple syrup caramelizes, transforming this often-overlooked side dish vegetable into something rich, sweet and almost dessert-worthy. —FM
- 3 lbs. butternut squash, peeled, seeded and cut into 1-inch cubes
- 2 Tbsp. olive oil
- 2 Tbsp. maple syrup
- 1 ½ tsp. kosher salt (or 3/4 tsp. table salt)
- ¾ tsp. cinnamon
- ⅛ tsp. nutmeg
- ¼ tsp. black pepper
- 1 ½ Tbsp. fresh rosemary, chopped
Preheat the oven to 400 F. Coat two baking sheets with nonstick spray. In a large bowl, mix squash, olive oil, maple syrup, salt, cinnamon, nutmeg and pepper. Toss until the squash is evenly coated. You will notice there is a lot of liquid in the bowl. Make sure that not a whole lot of that liquid ends up on the pans. To do this, use a slotted spoon to remove the squash cubes from the bowl one at a time. Discard any excess liquid remaining in the bowl. Arrange squash in a single layer on the baking sheets. Make sure the pieces do not touch and are adequately spaced out. If the squash pieces get too close to each other, they will steam instead of caramelizing. Our family jokes, “Space is grace if you want good taste.” Place both baking sheets in the oven; bake for 15 minutes. Remove from the oven. Use tongs to flip squash. Return the pans to the oven; cook until the squash turns tender, about 15 minutes. Remove from the oven, and sprinkle with chopped rosemary.
Desserts
Mini Fruit Pies

Notes: If ever a holiday calls for pie, it’s Thanksgiving. But we like to mix it up a bit and ramp up the fun factor for the kids at the gathering. And we know Minnesotans appreciate almost anything served on a stick. (Make mini hand pies by omitting the craft sticks. Save this recipe for the Fourth of July, baking blueberry, cherry and strawberry pies to celebrate!) —RSH
- 1 cup blueberries (Apples or strawberries, diced very small and canned cherries also work.)
- 3 Tbsp. sugar (I use monk fruit sweetener.)
- 2 tsp. cornstarch
- 14.1 oz. refrigerated pie crust (You can make your own crust, but …)
- 16 wooden craft sticks
- 1 egg, beaten with 1 Tbsp. water
- finishing sugar, optional
In a saucepan, mix ¾ cup of the fruit, sugar and cornstarch. Add in ¼ cup water. Cook over medium heat for 5-7 minutes or until the berries pop, and the sauce is thickened. Remove from heat; add in the remaining fruit. Refrigerate for 20 minutes. Preheat the oven to 435 F. Unroll a pie crust on a cutting board or counter. Cut 2½-inch circles with a cookie cutter or a drinking glass rim. Roll remaining dough scraps, and repeat until you have 32 rounds. Divide 16 of the rounds on two parchment-lined baking sheets. Press a craft stick into each round, leaving ¾ of the stick outside the dough border. Place about a teaspoon of filling in the center of each round. Brush the edges with the egg mixture. Place one of the remaining 16 rounds over the filling; seal the edges with a fork, making marks as you go around. Brush more egg wash over the top of the mini pie. Sprinkle, if desired, with finishing sugar. Gently use a sharp knife to make four vent slices in each mini pie. Bake for 10 minutes or until lightly brown. Cool on a wire rack.
Nanaimo Bars
Notes: If these rich, layered treats appear on the dessert table, they are always the first thing on my plate. With a coconut crumb base, a rich custard cream filling and a smooth chocolate ganache on top, this no-bake classic never fails to impress. It’s a guaranteed crowd-pleaser. —FM
- 1 cup butter, softened, divided
- 5 Tbsp. unsweetened cocoa powder
- ¼ cup granulated sugar
- 1 large egg, beaten
- 1 ¾ cups Graham cracker crumbs
- 1 cup flaked coconut
- ½ cup finely chopped almonds, optional
- 3 Tbsp. heavy cream
- 2 Tbsp. custard powder
- 2 cups confectioner’s sugar
- 4 1 oz. squares semisweet baking chocolate
- 2 tsp. butter
In a double boiler, melt ½ cup butter, cocoa powder and sugar. Stir with a wire whisk until smooth. Beat in the egg; stir until the mixture becomes thick, about 3 minutes. Remove from heat. Mix in Graham cracker crumbs, coconut and almonds. Press the mixture into the bottom of an ungreased 8-inch by 8-inch pan lined with parchment paper. Press hard to create a firm, solid and even layer. Next, make the middle layer. In a stand mixer, beat remaining ½ cup of butter with heavy cream and custard powder until it becomes light and fluffy. Add in the confectioner’s sugar, and mix until well combined and smooth. This is important, so the middle layer doesn’t turn out gritty. (Nothing ruins a Nanaimo Bar more than a gritty custard layer.) Spread it evenly over the bottom layer. Chill to set, about 30 minutes. Once chilled and set, make the top layer by melting semisweet chocolate and 2 tsp. butter in a saucepan on low heat. It’s important to stir constantly during this process to produce a shiny chocolate. Stir until the mixture is smooth. Once you see a shine, spread the chocolate over the chilled bars. Place in the fridge to let the chocolate set, about 10 minutes. Cut into squares. Store in the fridge for up to five days.