Photos: Chris Emeott
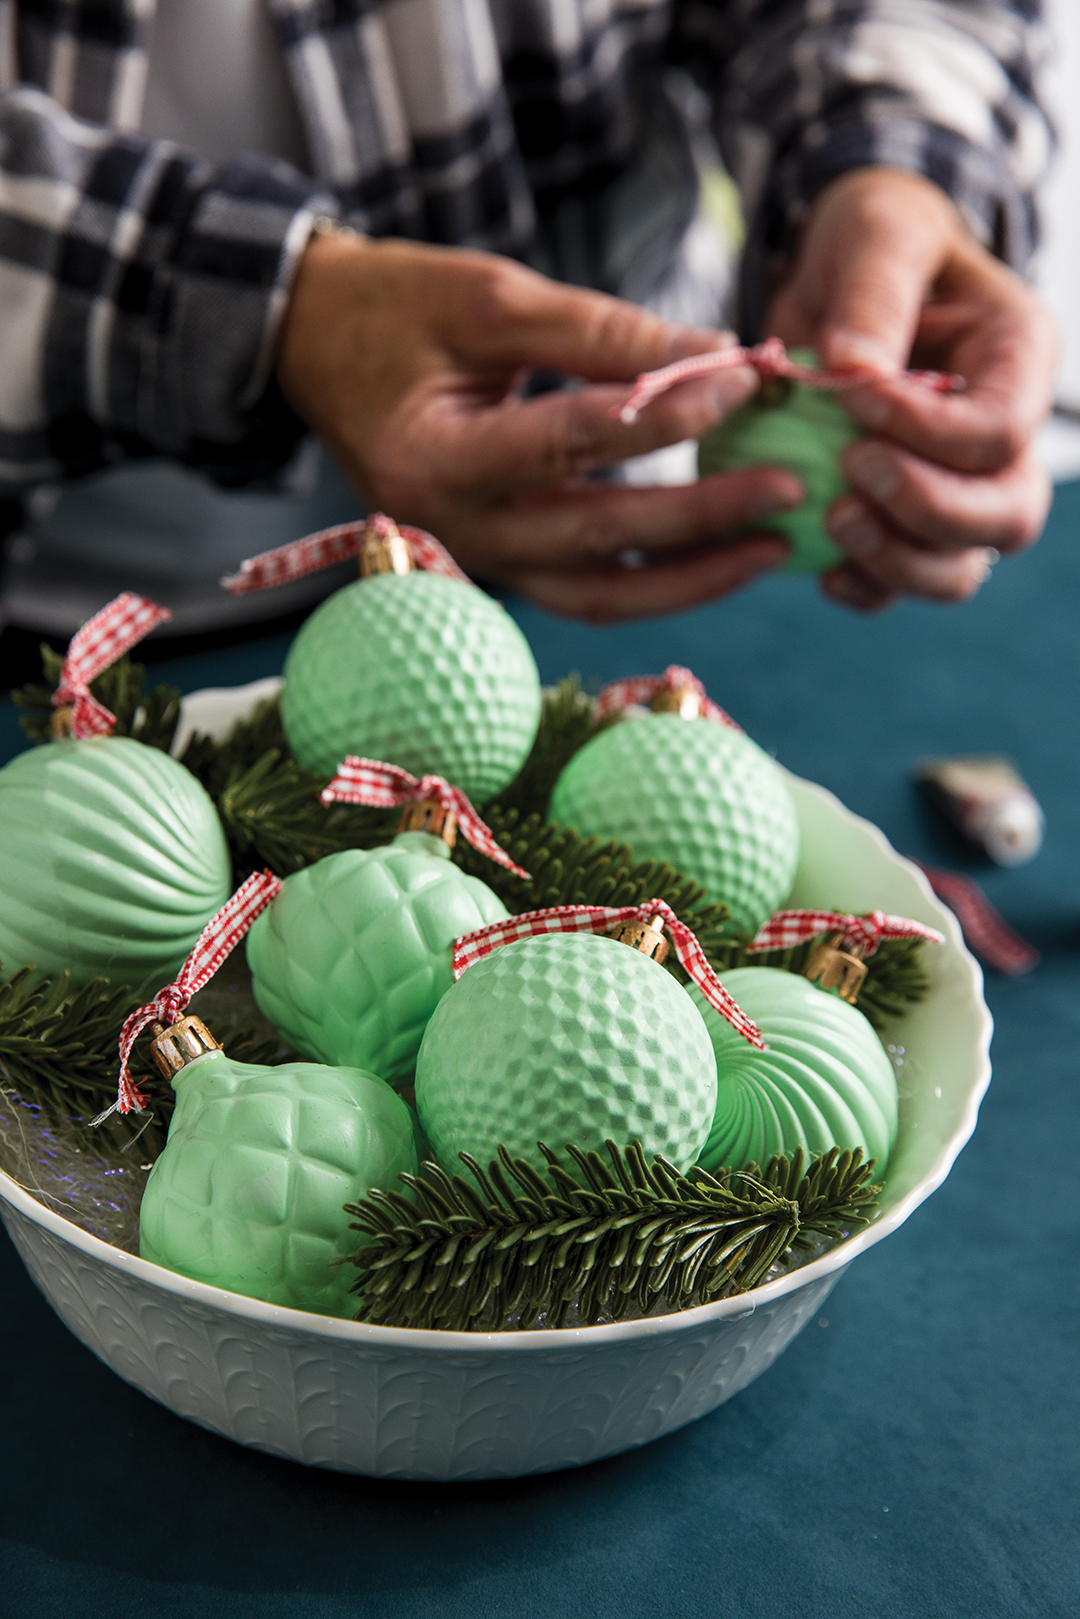
Take a turn at creating some vintage-inspired holiday décor.
’Tis the season to create memories and some unique holiday décor for the keeping. While browsing around social media, I noticed local resident Laura Bray made a charming craft that translates well for this time of year and beyond—depending on its presentation.
Bray, one of our Editorial Advisory Board members, discovered this idea on Instagram (@mycreativedays), and she added some minor adjustments and recommendations. “I have always loved vintage pieces,” Bray says. “One of my favorites is jadeite, but I usually don’t want to pay the price for real jadeite.”
When discussing jadeite in terms of kitchenware, one is generally talking about the milky-green glassware that was developed during the Depression, rather than the semi-precious gemstone of the same name. The kitchenware from the 1930s is quite collectable and can be found at plenty of antique and vintage shops, and there are several current makers that have hopped on board to create reproductions.
Now, some crafters have come up with fun ways to duplicate “the look.” After finding this craft, Bray knew she wanted to give it a go. “I am not a very crafty person, but I felt this looked easy enough for me to try it,” she says.
Jadeite Ornaments
- Plastic ornaments, preferably with texture (You can find these anywhere, including the dollar section at a local store, at a hardware store or online. Bray says there’s no need to spend a lot; less expensive ornaments will do just fine.)
- Green craft paint (Find a shade that best replicates jadeite in a matte color. Bray used Apple Barrel’s Spring Green, or try DecoArt’s Jadeite.)
- Rub ’n Buff, Antique Gold
- Foam brushes (Bray says these result in fewer visible brush strokes.)
- Skewers
- Cotton swabs
- Ribbon, color of your choosing, but consider holiday-inspired patterns or colors.
Remove the tops of the ornaments. Place each ornament on a skewer to allow for ease during painting. Apply the Rub ’n Buff to the tops with a cotton swab. (This step is optional. If you prefer the original color/finish of the tops, go with it.) Set aside to dry. Use a foam brush to apply paint to the ornaments. Once done, keep them on the skewer and stand them in a tall jar or glass while they dry, making sure there is space between each ornament. (Do a second coat if needed.) Once dry, add the tops back on, and tie the ribbon to the top.
On Display
Use the ornaments as they were originally intended, and hang them on a vintage-inspired holiday tree. Consider placing them in a grouping in a dish or clear or decorative vessel. Add other elements, including greens (faux or real), smaller ornaments in complementary colors or miniature holiday objects. They can also be randomly placed on a bookshelf or on cabinet shelves to add color, texture or the right touch of holiday spirit.
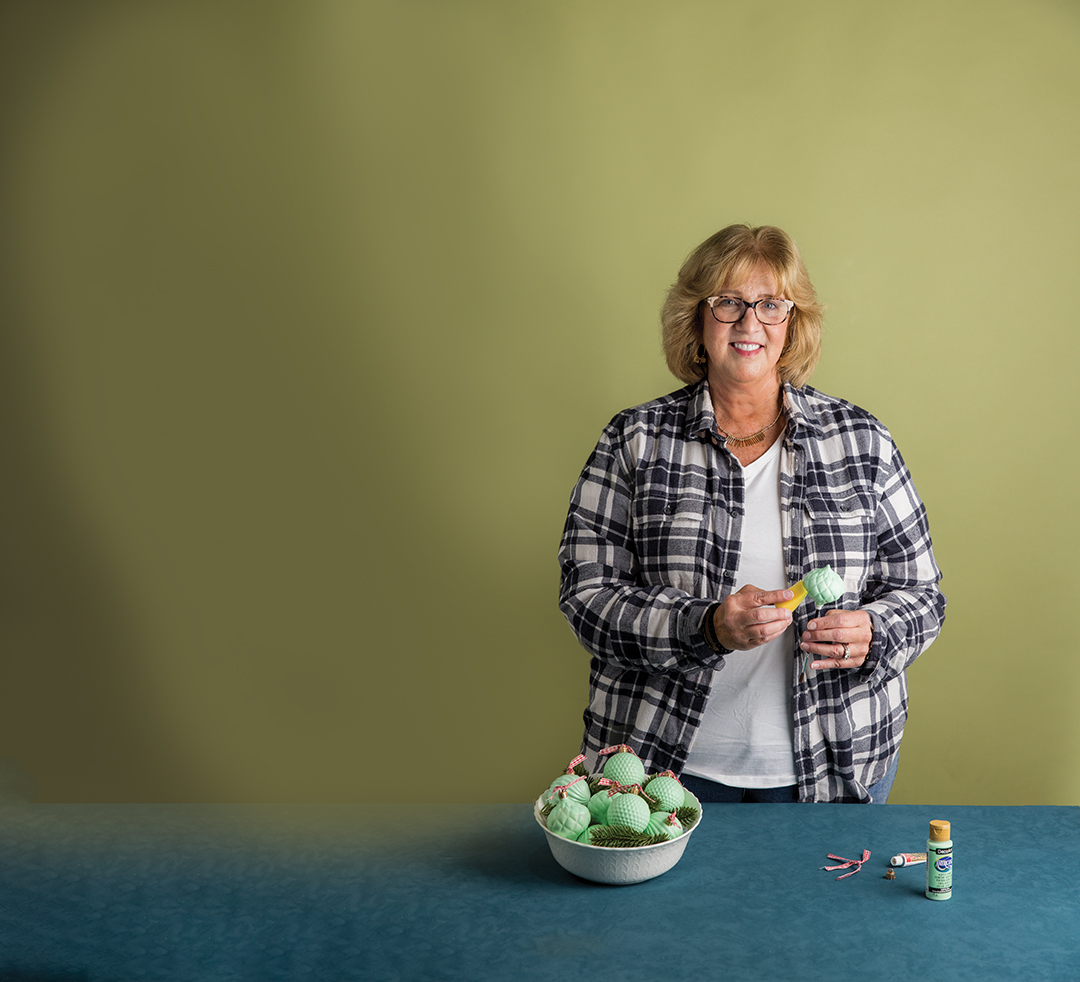
Laura Bray